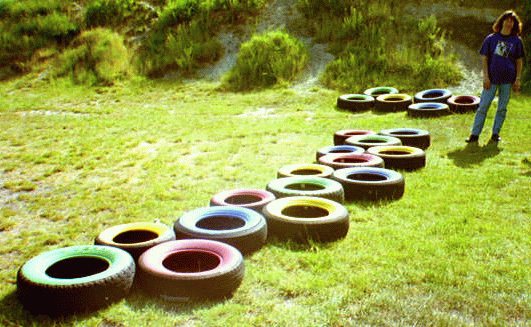

We began by bolting together the bottom 15 tires, flat on the ground. These are the 5 to be buried, the 5 small tires just above the 5 that are buried, and 5 more large tires connecting the buried/small pairs. When lying flat on the ground, there will be a slight arc to this arrangement. In this photo, you can see Carmela Micheli, Director of Arcadia Montessori, and the remaining six tires lying in wait.

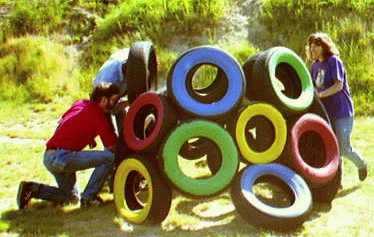
Here we have hoisted up the 15 tires from the ground and wrapped it around, end to end. To join the ends requires fitting two bolts - think carefully about where they go! This is the most difficult step (physically and mentally). We have also started adding the 5 remaining large tires. I believe that is Dave Tinsley kneeling, and Bryan Smith with his head in a tire.

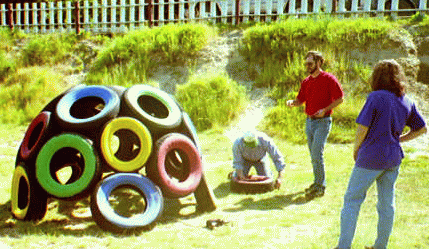
Now the top 5 large tires have been pressed down and bolted to themselves and other supporting tires. It takes a bit of work at this stage to get the tires to cooperate. Bryan Smith can be seen preparing the top tire, while Dave and Carmela take a breather.

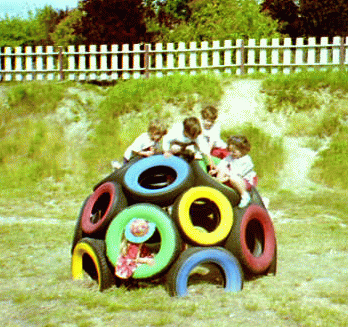
Now the final. capstone small tire has been added. If all has gone well, this tire is pretty easy to bolt in. It remains to bury the 5 bottom tires, which can be seen buckling some here. It is best to construct the dome just where you want it to be, mark where the holes should be dug (we used spray paint), and then move the dome out of the way. Three people should be able to pick up and move a completed dome - it was fairly easy with four folks.

Done! That's my son, David, second from the right on top.
Back to The PlayDome Page
Created: June 25, 1996, Updated: June 25, 1996.